A Beginner’s Guide to Growing Peacock Plants That Actually Thrive
.The peacock plant, also known as Calathea makoyana, is a real showstopper. Its bright patterns on the leaves resemble hand-painted feathers, and the plant itself responds vividly to its environment — its leaves gently fold upward at night (a phenomenon known as nyctinasty). All these features can hint that the plant is “not for beginners”. But fear not and don’t be fooled. Yes, it’s a little particular, but with the right setup, it can be surprisingly forgiving.
If you’re thinking of adding a peacock plant to your collection, you’re in for a treat — and a few surprises. It doesn’t just sit there looking pretty; it responds to its environment. That makes it fun to grow — and kind of like a leafy mood ring for your windowsill.
So, today we offer you to walk you through the basics of keeping your plant not just alive, but thriving. No complicated botany lessons here — just clear, beginner-friendly tips, a few clever tricks, and a step-by-step plan to help your peacock plant feel at home.
Getting to Know Your Peacock Plant: A Few Basics First
Before we jump into specifics like watering schedules and lighting tricks, it helps to understand what makes the peacock plant tick. Native to Brazil, this tropical beauty loves warmth, moisture, and stability — but it hates being rushed or disturbed too often. Think of it as a low-key diva: give it the right setup, and it’ll reward you with drama-free, beautiful growth.
So, here are a few quick ground rules before we get into the details:
Keep it away from drafts and sudden temperature changes
Don’t let it dry out completely, but don’t drown it either
Be patient — new leaves take time, but they are worth the wait
Rotate the plant every couple of weeks to keep growth even
If you keep these basics in mind, you’ll already be ahead of the curve. Now, let’s look at where your peacock plant should live — and how to make that spot work just right.
Pick the Right Spot: Light Without Stress
Light is everything for a peacock plant, but it is also one of the easiest things to get wrong. Direct sunlight is a no-go — it will scorch the delicate leaves, causing crispy brown edges or faded patterns. But too little light is just as bad: the iconic markings can fade, and growth will slow to a crawl.
So what’s the sweet spot? Bright, indirect light is ideal. A few feet away from an east- or north-facing window usually works well. Filtered light through sheer curtains is also perfect. Avoid placing the plant where it’ll get hit by intense afternoon rays.
Light Tip: If you're unsure whether your room has the right lighting, try the Light Meter tool in the AI Plant Finder app — it gives you a precise lux reading using your phone’s camera, helping you adjust placement with confidence.
Watering Wisely: Moist, Not Soggy
Please remember that peacock plant doesn’t tolerate extremes — no bone-dry soil, and definitely no swampy pots. Its roots are sensitive, and inconsistent watering is a fast track to drooping leaves, brown tips, or worse.
How to keep moisture just right:
Stick your finger about an inch into the soil. If it feels dry, it’s time to water.
Use filtered or rainwater at room temperature — calatheas are sensitive to fluoride and cold shock.
Make sure excess water drains freely from the bottom of the pot.
Common watering mistakes
Symptom | Possible Cause |
Yellowing lower leaves | Overwatering |
Brown, crispy edges | Underwatering or dry air |
Mushy stems or foul smell | Root rot from soggy soil |
Soil and Potting: Give Those Roots Room to Breathe
Your peacock plant wants its roots to feel comfortable — light, airy, and not smothered. Choose a well-draining, peat-free mix designed for tropical plants or marantas. You can also make your own using:
2 parts coco coir or peat
1 part perlite
1 part orchid bark
(Optional) a pinch of horticultural charcoal to prevent rot
Don’t forget the pot! Use one with proper drainage holes to avoid standing water. Repotting is best done every 1–2 years in spring, especially when roots begin circling or popping out of the drainage holes.
Mini Tip: After repotting, hold off on fertilizing for 4 weeks — let your plant settle in first.
Humidity and Temperature: The Jungle Vibe
If you want your peacock plant to thrive, think jungle — not desert, not alpine lodge. These plants are native to the warm, moist undergrowth of tropical forests, and they expect that same vibe indoors.
Ideal humidity sits between 50% and 70%. If your indoor air is too dry — especially during winter — your plant will let you know. One of the first signs is leaf curling inward, almost like it’s trying to protect itself. That’s not a dramatic gesture; it’s survival.
Temperature-wise, peacock plants prefer a steady range between 18°C and 27°C (65–80°F). So, avoid placing them near heaters, air conditioners, or drafty windows. They hate sudden changes.
How to raise humidity (effectively):
Humidifier – the easiest, most consistent method
Pebble tray – place a tray with pebbles and water under the pot (just don’t let the pot sit in water)
Plant clustering – grouping several plants together creates a mini microclimate
Skip the misting — unless your room is already humid, misting can lead to fungal issues instead of fixing dryness.
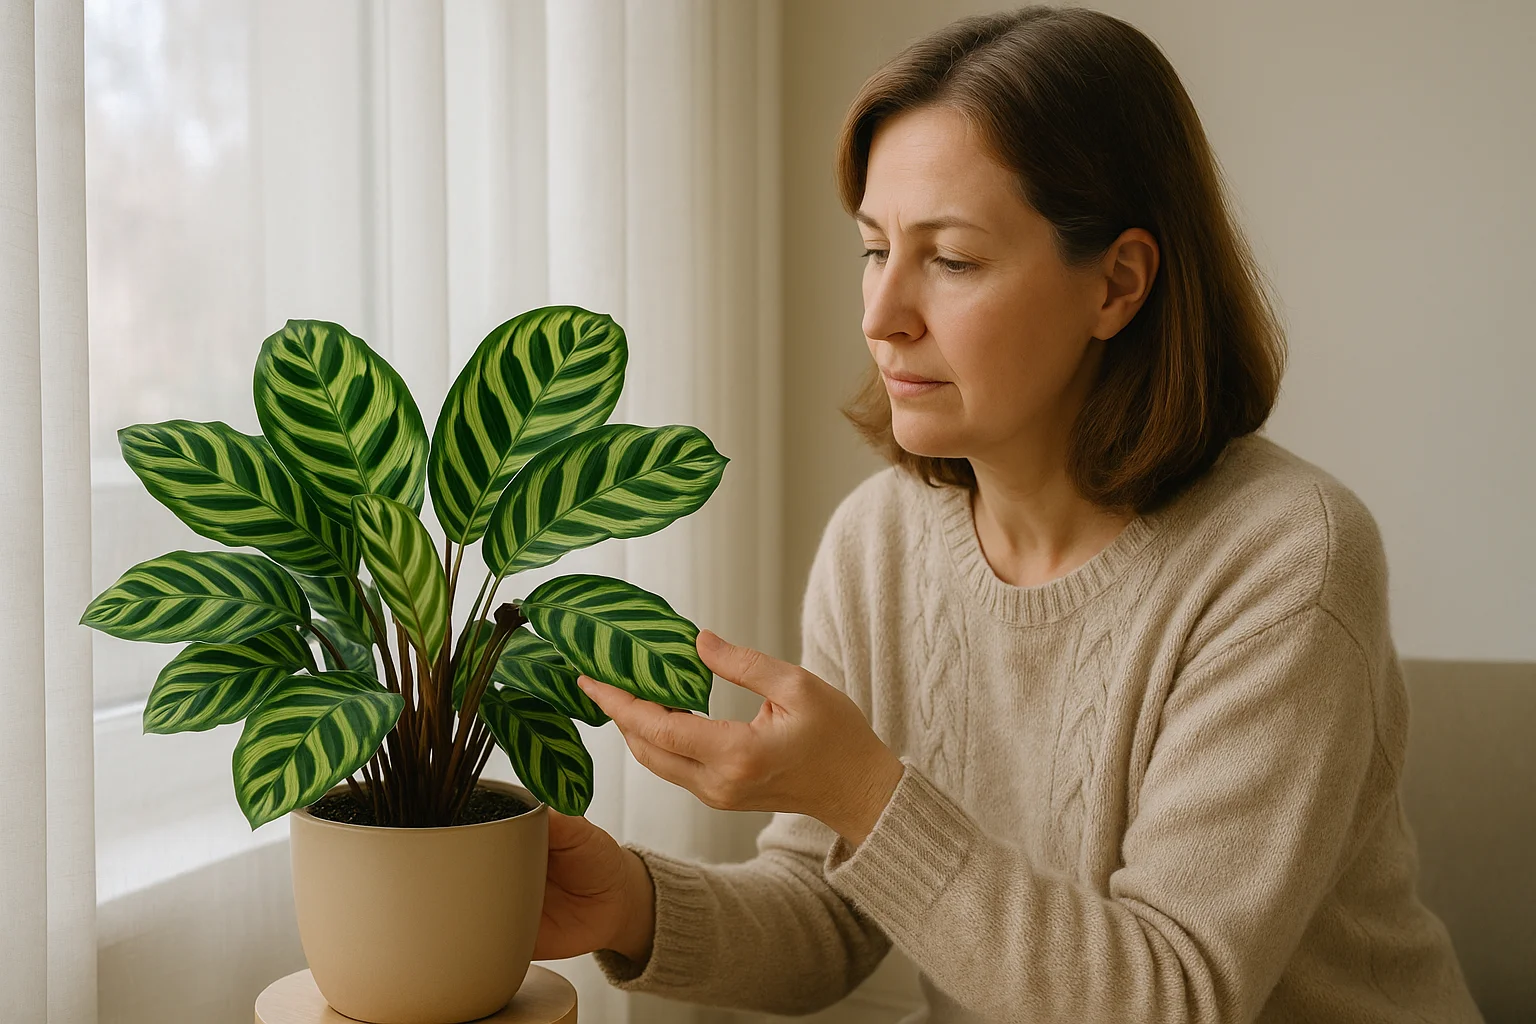
Watch for Problems: When the Plant Talks Back
Peacock plants aren’t shy — when something’s wrong, they show it. And here you should learn how to read the signals. Most of the time, the leaves are your best clue. A slight color change, a bit of curling, or spots appearing out of nowhere — it all means something.
Here are a few common symptoms and what they’re trying to tell you:
Leaf Problem | What It Means |
Brown, crispy edges | The air is too dry, or minerals (like salt or fluoride) are building up in the soil. Try using filtered water and boost humidity. |
Yellowing leaves | Classic sign of overwatering. Check if the soil feels soggy, and make sure your pot has proper drainage. |
Faded or pale patterns | Your plant isn’t getting enough light. While it can tolerate low light, too little dims those signature markings. Try moving it closer to indirect sunlight. |
It's easy to panic when your plant looks unhappy — but most problems have simple fixes once you know the cause.
Quick Tip: If you are scratching your head and can’t figure out what’s wrong, just snap a photo and let the AI Plant Finder app do the work for you. It uses advanced recognition to spot health issues with up to 98% accuracy — and more importantly, it gives you personalized treatment advice and tips to prevent the same issue next time.
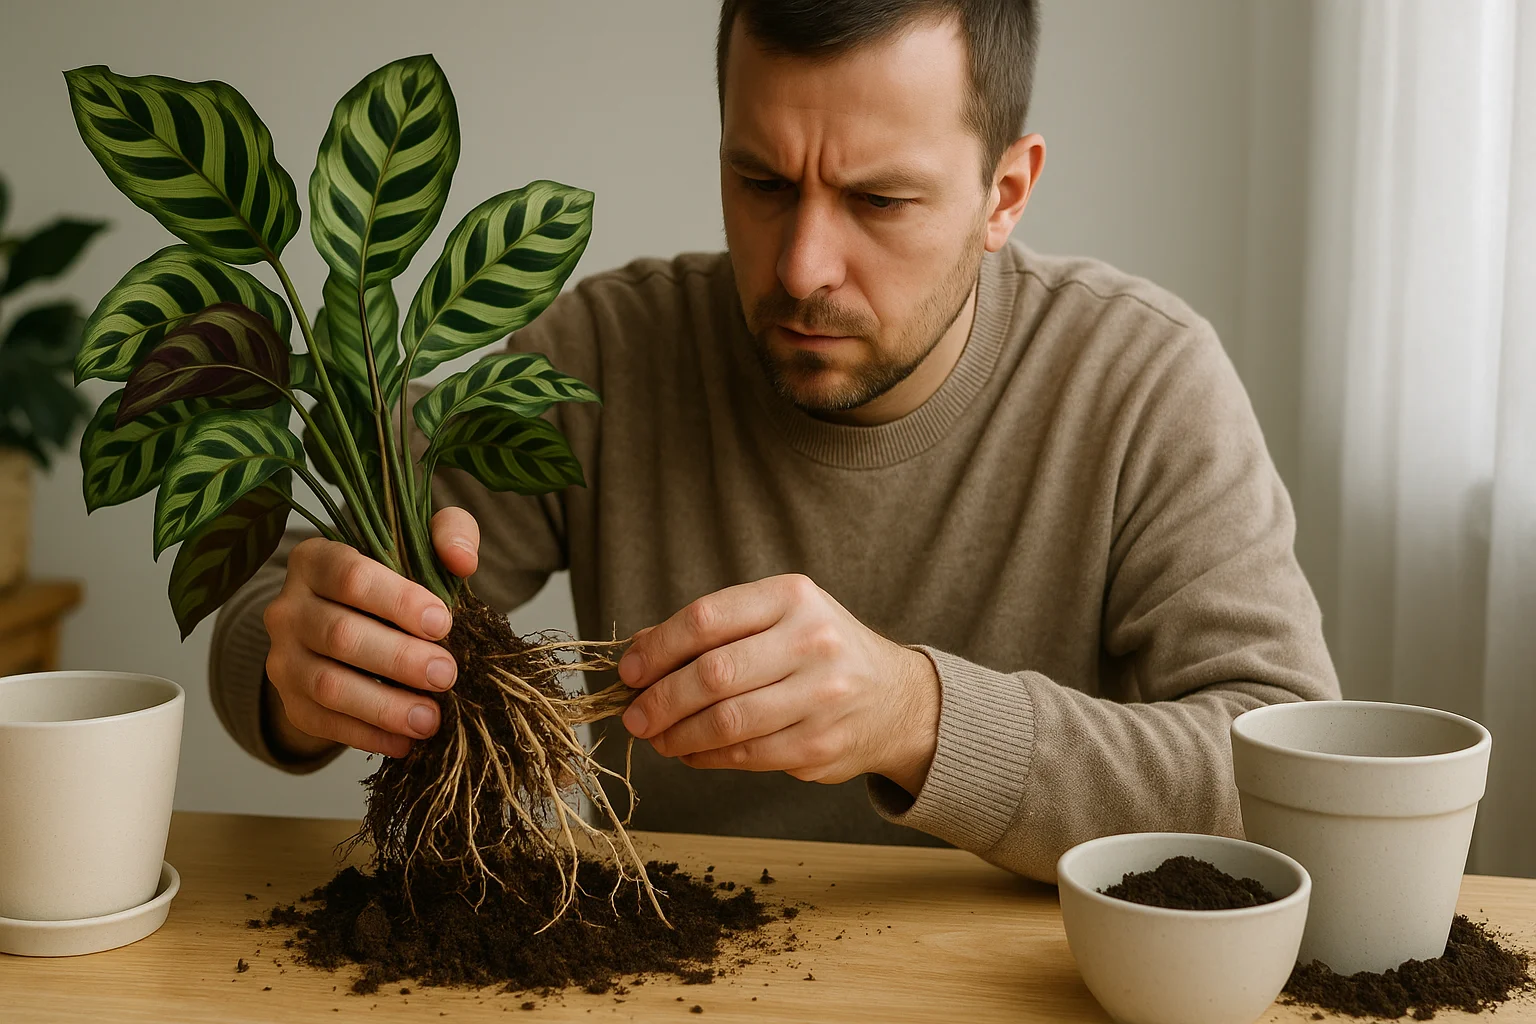
Repotting and Long-Term Growth
Even the most well-loved peacock plant can outgrow its pot. If you notice roots poking out of the drainage holes or water running straight through the soil, it might be time for a change. Most peacock plants do well with repotting every 1–2 years, ideally in the spring, when the plant is gearing up for new growth.
Here’s how to repot your peacock plant without stressing it out:
Choose a pot slightly larger than the current one — too big a jump can overwhelm the roots.
Gently loosen the root ball, removing old soil carefully.
Use fresh, well-draining soil, preferably a mix for prayer plants or calatheas.
Handle roots with care — they’re delicate and don’t like to be disturbed too much.
If the plant is crowded, divide it by separating healthy sections with roots and leaves, then pot them individually.
Tip: Don’t water immediately after repotting. Wait a day or two to let any root damage heal and reduce the risk of rot.
You Can Grow This Diva
Yes, the peacock plant has a bit of a diva reputation — but that just makes it more rewarding when you get it right. And with a little attention to lighting, moisture, and the occasional cleanup, this beautiful tropical can absolutely thrive in your home.
You don’t need a green thumb — just a curious mind, a little patience, and the willingness to listen to what your plant is telling you. Just take a little care — and use a smart helper like AI Plant Finder to grow a thriving peacock plant. Let those stunning leaves remind you that the jungle is alive in your home.
Popular